Support me on Patreon for early access previews, rewards and giveaways!
Contact Me
Or use the contact form below.
Support me on Patreon for early access previews, rewards and giveaways!
Or use the contact form below.
We have all been there. You finally get to a location, and maybe you are rushing. You look at your photos when you get home, and your heart sinks. One of the most important shots from the location is out of focus!
This happened to me on a recent trip to Hungary (check out the travel blog for photos and stories). I think I was hand shooting, to be honest I can’t remember. The location; “Little Noisy” Army Barracks.
Determined to salvage the photo, I pieced together an interesting “3-step fix” for out-of-focus/blurry photos. I have had several people voice interest in Photoshop tutorials, so here is my first one. I hope it brings breathes life into some of your unedited photos 🙂
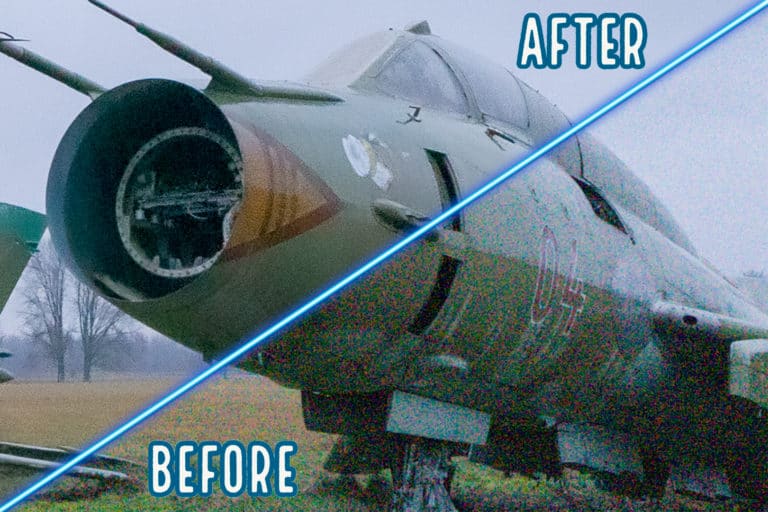
Below, you can see a before and after comparison. While far from perfect, I personally think the second image is still suitable for social media use. I accept that opinions may vary!

Load up Photoshop (sorry Lightroom-only users!) and let’s try and recover our photograph.
First thing first, as they say. I like to start off with some gentle Camera Raw tweaks, to get the image a bit clearer. Make these adjustments when you first import your RAW image files into Photoshop
If you shoot JPEG, you can “cheat” and select Filter>Camera Raw Filter from the Photoshop menu to bring up these options;

Pro tip – Now is a great time for some noise reduction. Any noise in the image will be amplified when we go onto do our progressive sharpening steps. Save yourself some headaches by making some quick noise reduction tweaks now!
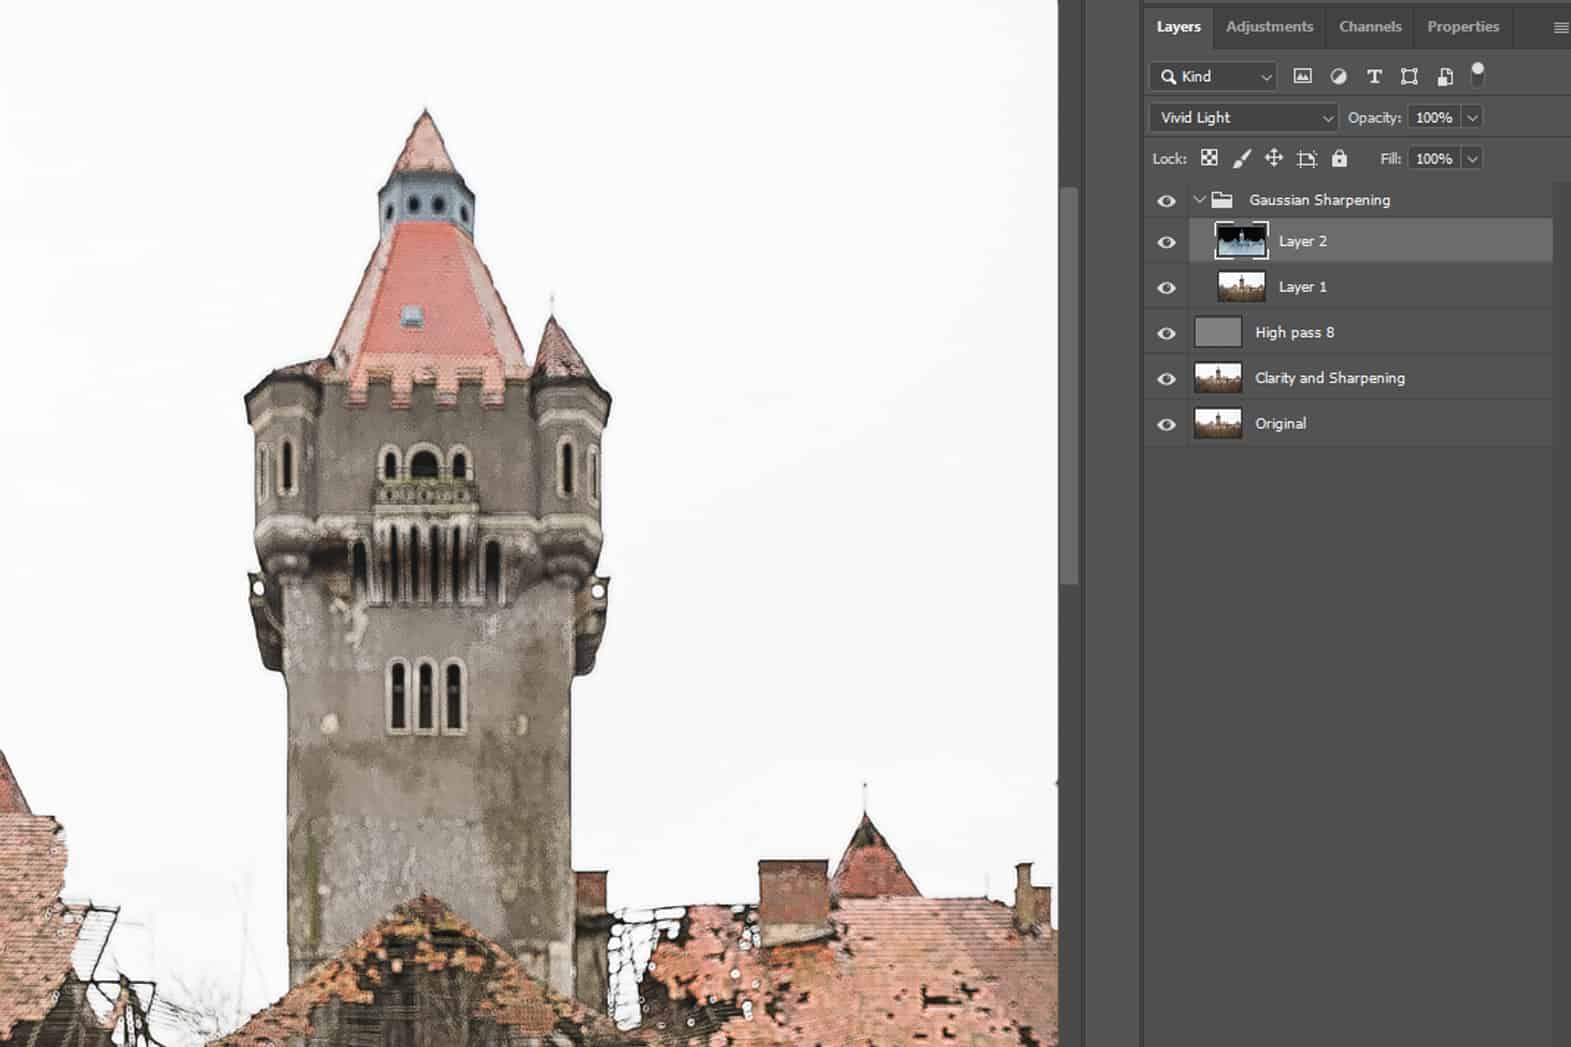
Our second stage of sharpening uses a High Pass Filter.

Happy days, the image is already looking a lot better right? Now, bear with me a second as the next step may sound a little strange. We are going to use blur, to sharpen our photo. Let’s get to it.
Hopefully, you have saved your image. Then you can move onto some noise reductions (if required). Then you can just follow your usual editing workflow, and move onto less problematic images. I opted for a cheeky little sky enhancement, to make the skies more “moody”.
Personally, I think the quality here is more than adequate for social media sharing. Or as part of a blog series (check out the rest of my photos from this location).

Download the layered TIFF file, where you can see how these tweaks look like on a medium-resolution demo image:
What photograph caught your eye the most? How did this location make you feel? Do you have a question? Let me know by leaving a comment!


Join My Adventures!
I add new content every week, ranging from exciting new locations to blog articles about my road trips. My beautiful newsletter will bring my photographic adventures direct to your inbox!
Your email address will not be shared, or publically displayed. I will only use your data to send you the newsletter, as outlined in the Privacy Policy. You can unsubscribe at any time, via the opt-out link included in every email.